Articles
Recording first guitar tracks in Reaper with Line6 POD Studio
Firstly run Line6 Monkey application and make sure you have everything up to date. If you haven't already, activate POD Farm 2 via Line6 Monkey.
If your Reaper looks differently than show below, click Options > Themes > Default_3.0.
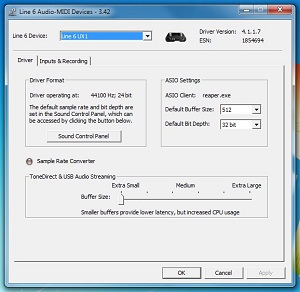
1) POD Studio driver settings
Windows: Menu Start > Control Panel > Line6 Audio-MIDI Devices
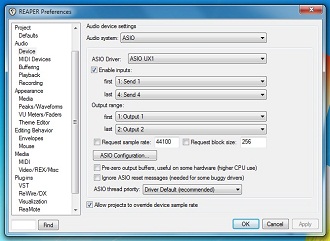
2) Select POD Studio driver in Reaper configuration
Reaper: Options > Preferences > Audio > Device > Audio system: ASIO, ASIO Driver: ASIO GX (or UX1, UX2, UX8, KB37)
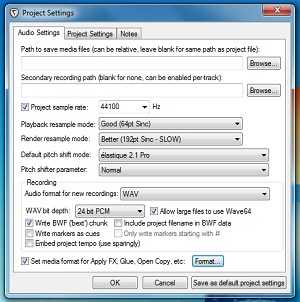
3) Set project sample rate and recording bit depth
Reaper: File > Project settings > Project sample rate: 44100, Recording > Record format: WAV, WAV bit depth: 24 bit
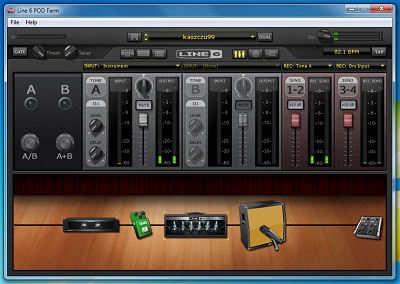
4) POD Farm 2 settings
Open POD Farm 2 application, switch to Mixer View:
Send 1-2: Tone A
Send 3-4: Dry input
Switch to Preset View, choose a nice sounding preset or set up your own.
5) Create a new track
Reaper: Track > Insert a new track (ctrl+t)
6) Arm the track for recording
Reaper: left click on "ar" labeled button on the track so it lits up.
Reaper's Record Arm/Disarm button
7) Add POD Farm 2 plugin on the created track - only for reamping
Reaper: left click "fx" button on the created track:
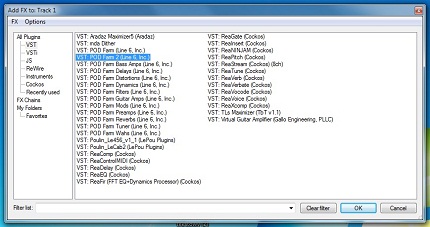
Select POD Farm 2 from the list as shown below:
8) Select input for the created track
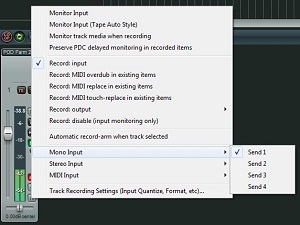
Mono Input > Send 3 or Send 4 - recording dry signal for reamping
Stereo Input > Send 1/Send 2 - recording processed sound directly from the POD Farm application
9) Record
Reaper: left click record button on transport bar (it's the red one).
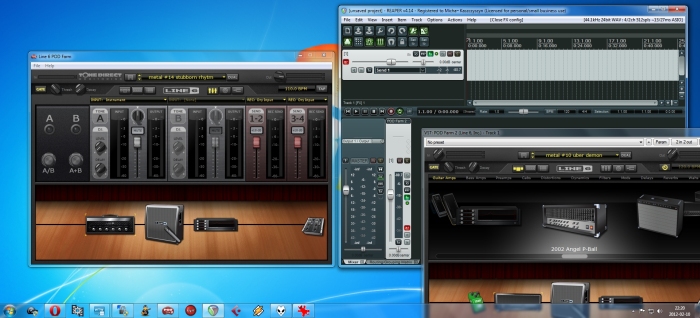
Below is an example of how it all can look before recording.
« Back to Articles


